Showing posts with label Artist's Bookmaking. Show all posts

Thursday, August 19, 2010

Artist's Bookmaking, Week 8- Last Class

Well, I can't believe it but my Artist's Bookmaking class is over.
I had so much fun this summer going to this great class every week and coming home with some new skills and a new craft to enjoy.

The last night was devoted to two things: finishing up the box from last week, and quickly learning some additional signature-sewing stitches.

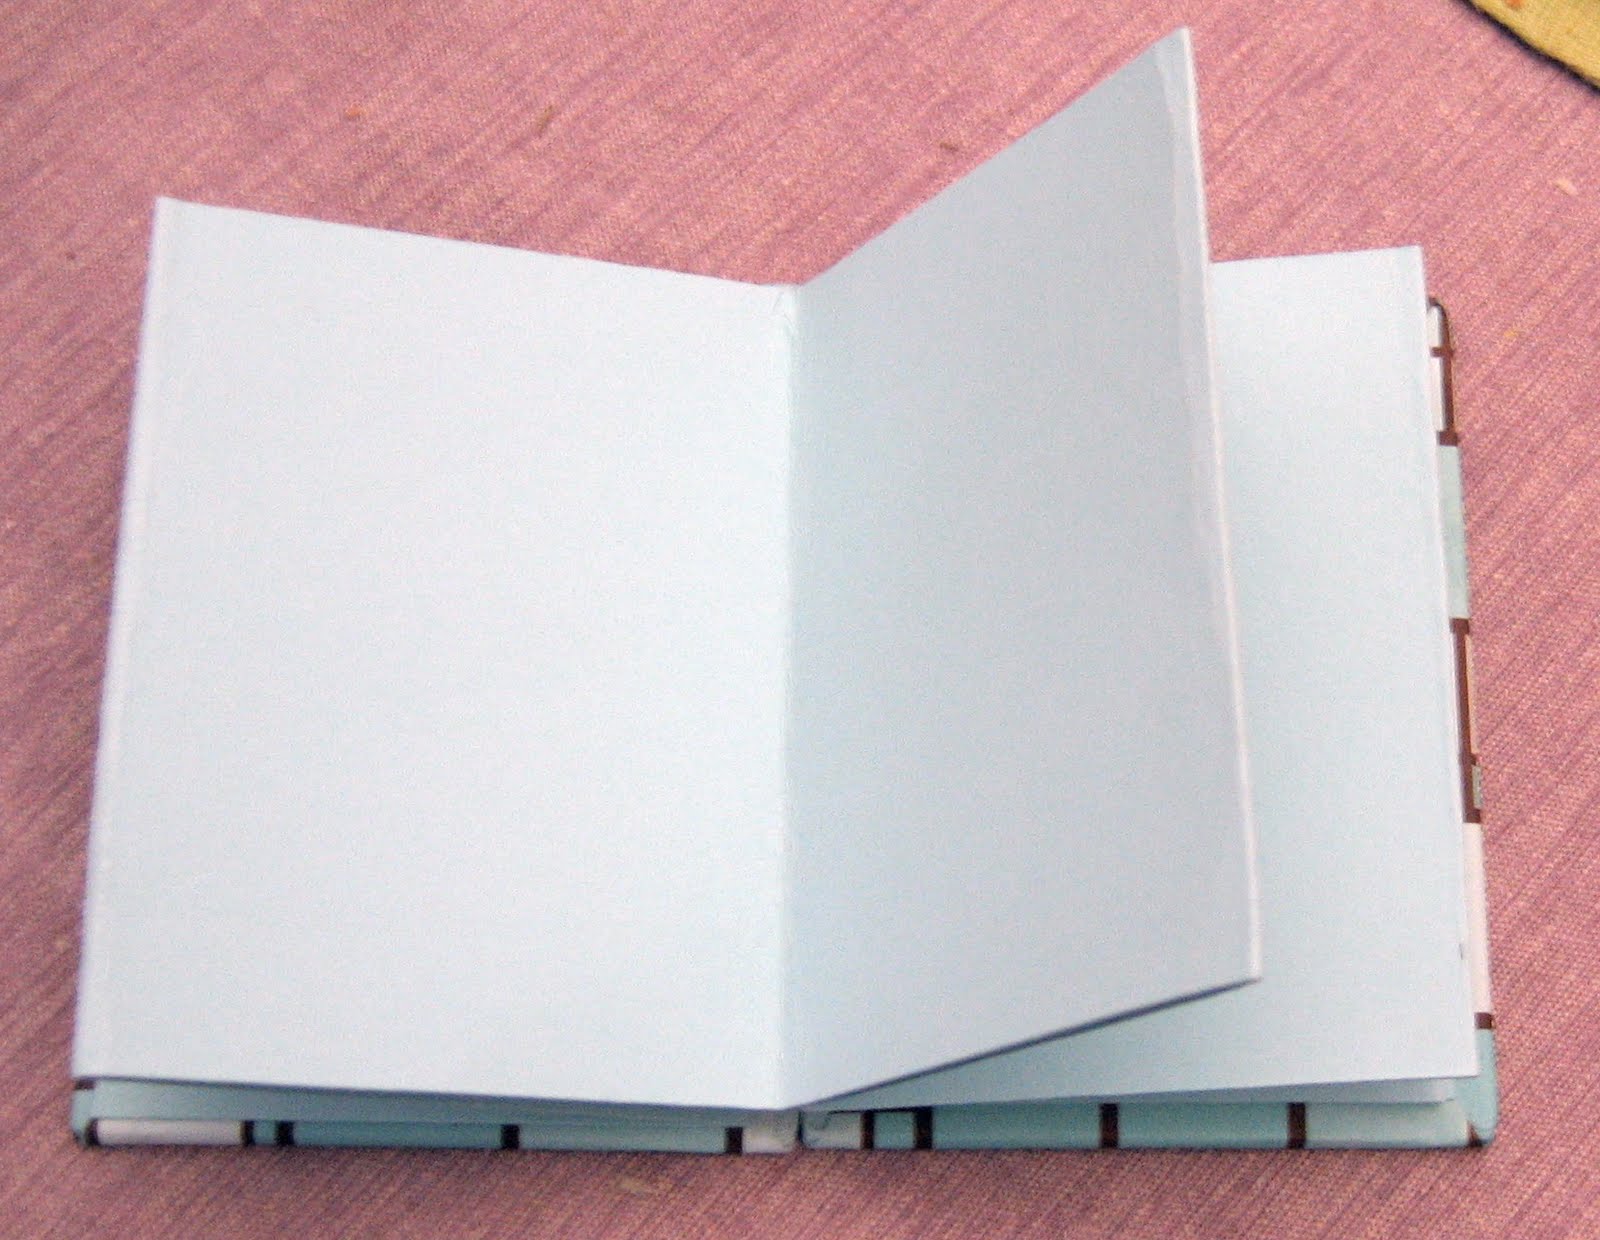
At the top is the completed box that we started last week, laid out flat. It closes into a book shaped thusly:

Mine came out okay. There were some glue-control issues, which you may be able to tell from the spine (I hid the worst side in the box's interior) and some alignment things, too, but I'm sure I'll get better if I keep practicing.

I used commercial bookcloth for this project but I found directions on how to make my own- and I have a whole room full of quilting fabric, fusible web and tissue paper to practice with.

The signature stitching was fun but I've already forgotten the stitches, sadly.

Here's the scrapbook I made for my upcoming trip:

I like the way it came out. Inside it's an accordion book with endpapers that match the cover. I'll fill it with souvenirs and photos when I get back. It'll be a fun way to relive the trip, I'm sure.


I'm going to continue to document my book- and box-crafting over on my craft blog; stop by sometime if you want to see what I'm up to next!

Thursday, August 12, 2010

Artist's Bookmaking Week 7: Boxmaking


Last week in my Artist's Bookmaking class we made three different kinds of boxes. From left to right:
  • a cardboard tray from a single sheet of cardboard,
  • a cardboard clamshell, also from a single sheet, and
  • a tray from book board, covered in bookcloth.
The first box was pretty easy; we made our measurements, scored with cardboard with a bone folder, folded it up and glued. We pulled the corrugation from the tabs at the end of each corner so that the corners glued up neatly. The second was more difficult for me and I had to make a couple of attempts, and I still wasn't happy with the results. It was more of a pizza-box design and required more measuring and cutting.

The third was similar to the first but we used five pieces of book board and the pieces were glued together instead of folded. It wasn't too difficult to get the measurements right but the trick was covering it; since we're doing everything in class, we often don't have time to let things dry properly and flipping a box around and manipulating fabric over it is difficult when it's still wet from the glue. But I managed! Actually if I showed you the other side you'd see it's pretty messy; I had some glue-control issues!

Tonight we're going to continue to work on our book-board boxes and make a more elaborate structure out of them. It's our last class, so next week I'll show you the completed box and also some pictures of my personal project. I can't believe it's almost over- it's been so fun having this class to go to every Thursday. I'm going to miss it!

Thursday, August 5, 2010

Artist's Bookmaking Week 6

Last week we did hybrid books- combinations of different binding methods. I chose a combination of the accordion and the folio.

I created a longish accordion and mounted it, clumsily, into a folio structure. It came out okay; I think of it as practice for my personal project, which I also started this weekend. I threw it together quickly because I had to leave class a little early to get to the Fall Winedown at the Harvard Book Store.

For homework we were supposed to make another hybrid structure at home; I didn't get around to it but maybe I will later today.

Tonight we'll be learning a little about box-making and continuing to work on practice books and our personal projects.

Thursday, July 29, 2010

Artist's Bookmaking Week 5


Last week in my bookmaking class we started to learn about hand sewn binding techniques- basic signature sewing. Signatures are the little folded units of pages in a book; we made some for practice and then practiced sewing them into paper books.

I enjoyed the hand sewing a lot; I like to do hand sewing generally so this was a fun skill to learn. We learned a basic three-hole technique and then a second that resulted in a cross-hatched stitch on the outside but used five holes on the signature. I didn't get a good picture of that unfortunately but here is the booklet I made:I experimented with signature sewing over the weekend and wrote about it here on my craft blog. Tonight we'll be doing books that mix folded and sewn structures. Should be interesting!

Thursday, July 22, 2010

Artist's Bookmaking Week 4: Decorative Papers


Last week in my Artist's Bookmaking class, we practiced making decorative papers for our books using two techniques- paste paper and marbling.

For the paste paper experiments, we used a recipe of flour, water and cornstarch mixed with acrylics and applied to wet, plain paper. We then used different implements such as brushes, combs, rubber stamps, and even bubble wrap to make patterns on the paper.

My class project is to make a scrapbook for my upcoming trip to Florida in August, so I concentrated on making papers in tropical patterns and colors. I'm going to cut palm trees and flamingos out of some of them, and use others for text and photo backdrops.

I liked using the rubber stamps because I thought it gave the paper the look of batik fabric, and the combs and scrapers allowed for interesting textures as well.

After I'd made whole bunch of paste papers, I had the chance to do a little marbling.

We used a technique employing shaving cream on top of a cookie sheet that was then covered with diluted watercolor paints and swirled.

I had fun experimenting with it; it was pretty messy though and I'm just hoping the paint will come out of the pants I wore to class!

It was a fun night and I love my new paper.

Thursday, July 15, 2010

Artist's Bookmaking- Week 3


This week, we made two miniature hardcover books using book cloth and board. The first was this orange book, a very basic model made a little more challenging with the addition of a ribbon using a chisel and hammer.


The second book we made was similar, but this time we attempted a flag book- another style of accordion book with small folds to which you can attach pieces of paper:

I can see so much potential for this kind of book. The teacher brought in an example using fortunes from Chinese fortune cookies; I can see using the flag structure as part of a scrapbook for tickets or other mementos, and other things too.

I stopped by the local hardware store this week and picked up some hand tools so I can continue this hobby on my own- an awl, a chisel and a good knife. I even got my craft notebook out and starting jotting down ideas for the "personal accordion" project, one of our assignments. I think I want to make a scrapbook for my and my husband's upcoming trip to Florida in August. I already have this great floral paper for the cover- which means I only have everything else to figure out. Fun!

Thursday, July 8, 2010

Artist's Bookmaking, Week 2

I have lots of pictures to share with you this time. In class we made these two booksusing single-sheet constructions and accordion or concertina folds. We learned how to cover book board and talked about different finishing ideas, such as using a ribbon to tie a small book. I didn't quite get the single-sheet construction thing,

but I enjoyed making the accordion-fold book,
which I think came out a lot better:
For my homework, I made a small accordion book (4x4 inches) which I covered in fabric.

In the two books I made in class, we used paper and diluted Elmer's glue; in the book I made at home, I used quilting fabric and Mod Podge. I cut the fabric squares 6x6 and mitered the corners using my fabric rulers and rotary cutter. I used a 6x6 square ruler to fussy-cut the fabric. The hardest part? Cutting the book board. I got a package of four large sheets of book board at my local crafts store and cut the 4x4 squares using a knife and sanded the edges with a sanding block. I need to get a sharper knife because it took much too long to cut the board.

I also picked up some cardstock and scrapbook paper to use for practice and for projects later in the class. I should go to the hardware store for a good awl and sharp knife, then I should be set with supplies.

I often spend some time in the craft section of whatever bookstore I happen to be in, usually to look at quilt books, but lately I've been interested in paper crafts and bookmaking books as well. There's always something new to be interested in!

Tonight the syllabus tells me we will work on folios and advanced accordions. Sounds great!

Thursday, July 1, 2010

Artist's Bookmaking, Week 1

For the next seven weeks, I'll be taking a class every Thursday night at a local adult education center, called "Artist's Bookmaking."

I'll be gluing, binding, cutting and stitching, making all kinds of handmade books.

It started last week with an introductory class and lesson. The instructor, Cristina Hajosy, is an accomplished artist and she brought in a bunch samples to show us the kinds of things we'll be working on- different types of bindings and techniques such as marbling and embossing and collage and more.

For the first week, we practiced a simple Japanese stab stitch to bind the packet of handouts that Cristina made for us.

I didn't do a great job, but I had fun!

My plan for the blog is to post the previous week's project every Thursday so if you'd like to follow along, come back each week on Thursday for the latest.

According to the syllabus, tonight we'll be doing "paper folding techniques, hinges...covering book board, single sheet constructions and the basic accordion."

I've always wanted to learn to make my own books- what better hobby for a bibliophile, right? I mean, besides reading!